BATMAN 1970 - 1/12 SCALE HANDMADE ACTION FIGURE


Intro
As of writing this (December 2021), I’m currently editing the video together showing the full process of this figure’s construction - so I don’t want to write a novel’s worth on how I made it. I’ll post a link to the video as soon as it’s ready!
After finishing The Phantom of the Paradise figure for the Gallery 1988 show, I realized that I made it through two figure projects without one of them being a Batman figure - so I knew I needed to make an iteration of Batman that I’ve always wanted: Bronze Age Batman or Batman as he was depicted in the 1970s! This depiction of Batman actually lasted into the early 1990s, and was used as the basis for the first Batman action figures ever made - which is why I suspect there aren’t many iterations of it today (at least in 1/12th scale form).
Anyways, this was the version of Batman that I grew up with, and I felt like it would be a nice and easy figure to make.
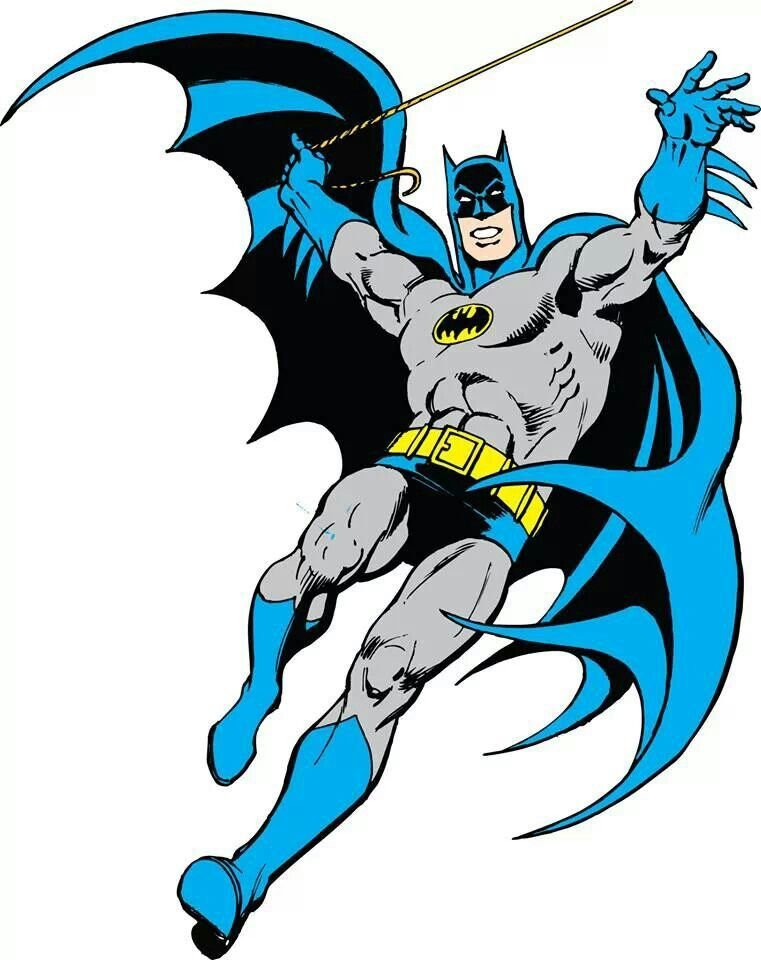
Art by José Luis García-López. Technically from 1982, but this is pretty much what we associate with Batman from the 1970s (on top of the amazing art of Neal Adams) and what I was aiming for with the figure.
Process
I started this after taking a break from making the Phantom of the Paradise figure, and I soon came to realize that making something that looks like it came from a comic book comes with challenges that aren’t as easy to overcome: how do I make the cape and cowl look like one solid piece? How do I make the gauntlet fins in a way that don’t make them look silly? How can I do this all with materials that I already have?
Find out! Same bat-time, same bat-channel!… or now, I guess.
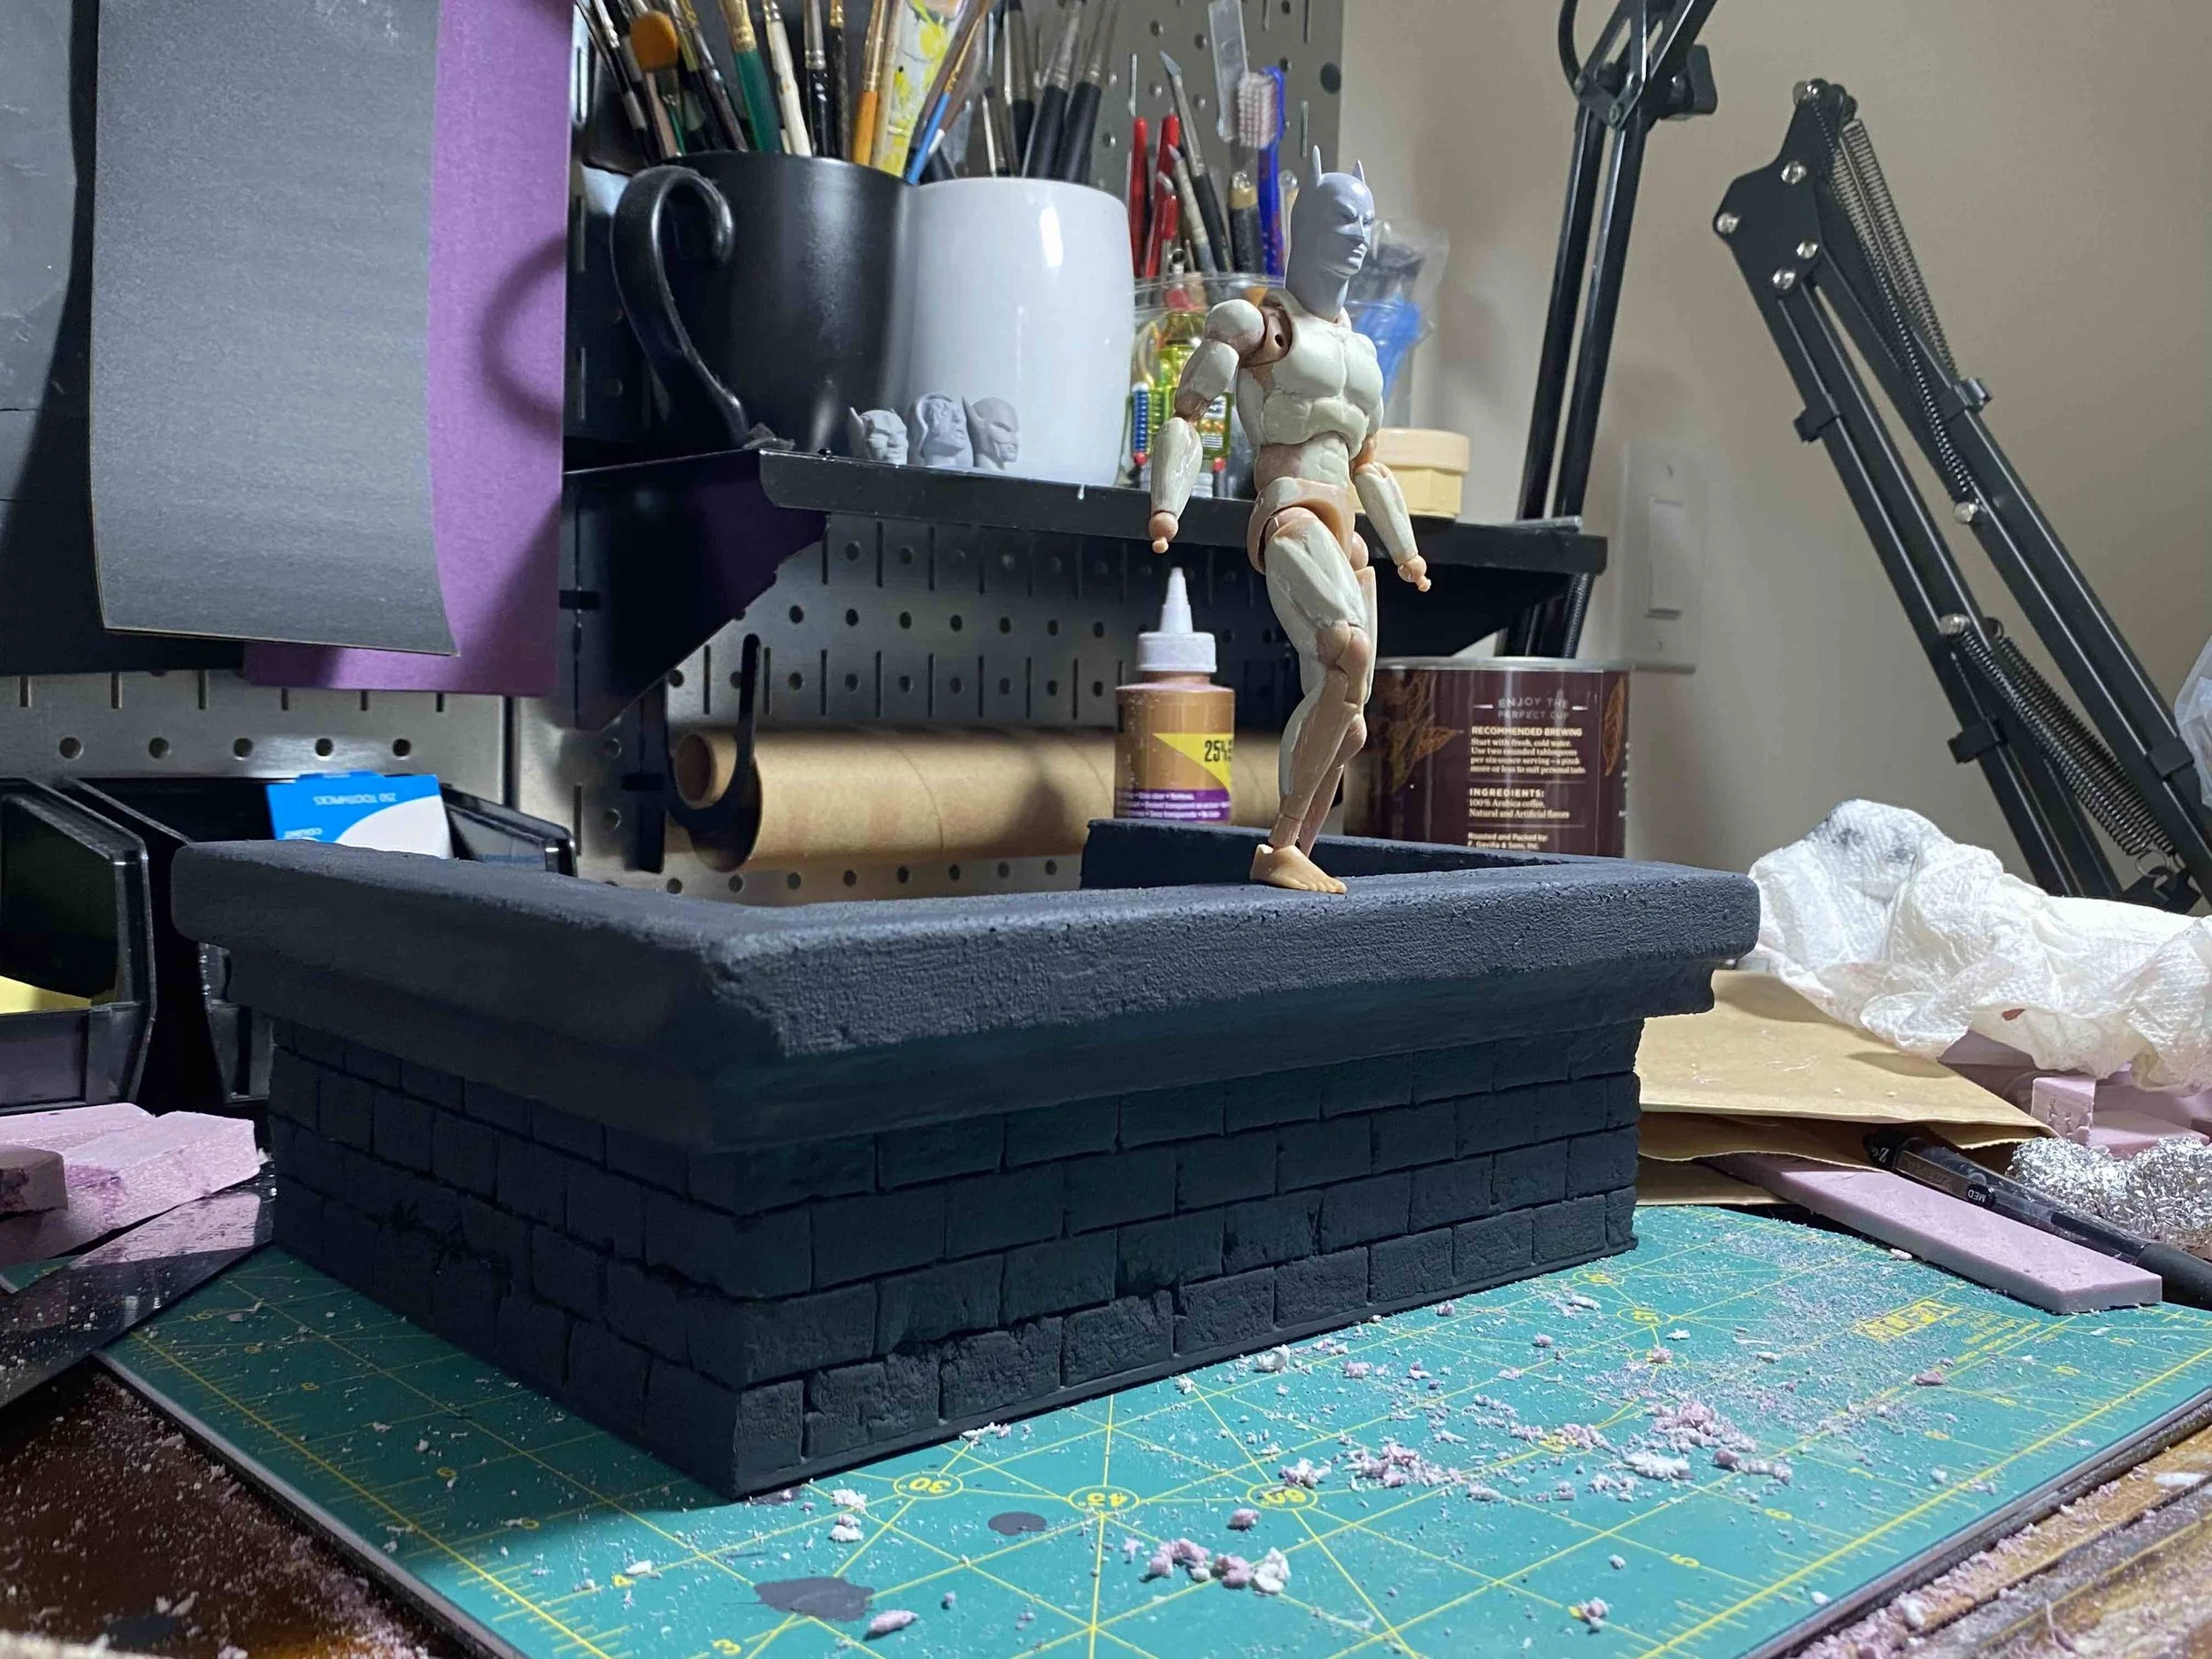
First, I started with the body - once again, I started out with a ThreeA styled 1/12 scale body. This time though (and similarly to my Batman Year 100 figure), I used Magic Sculpt to build up the body so the figure could match the comic book proportions. My normal process is to build up the figure’s mass, section by section then let the Magic Sculpt cure before sanding and refining.
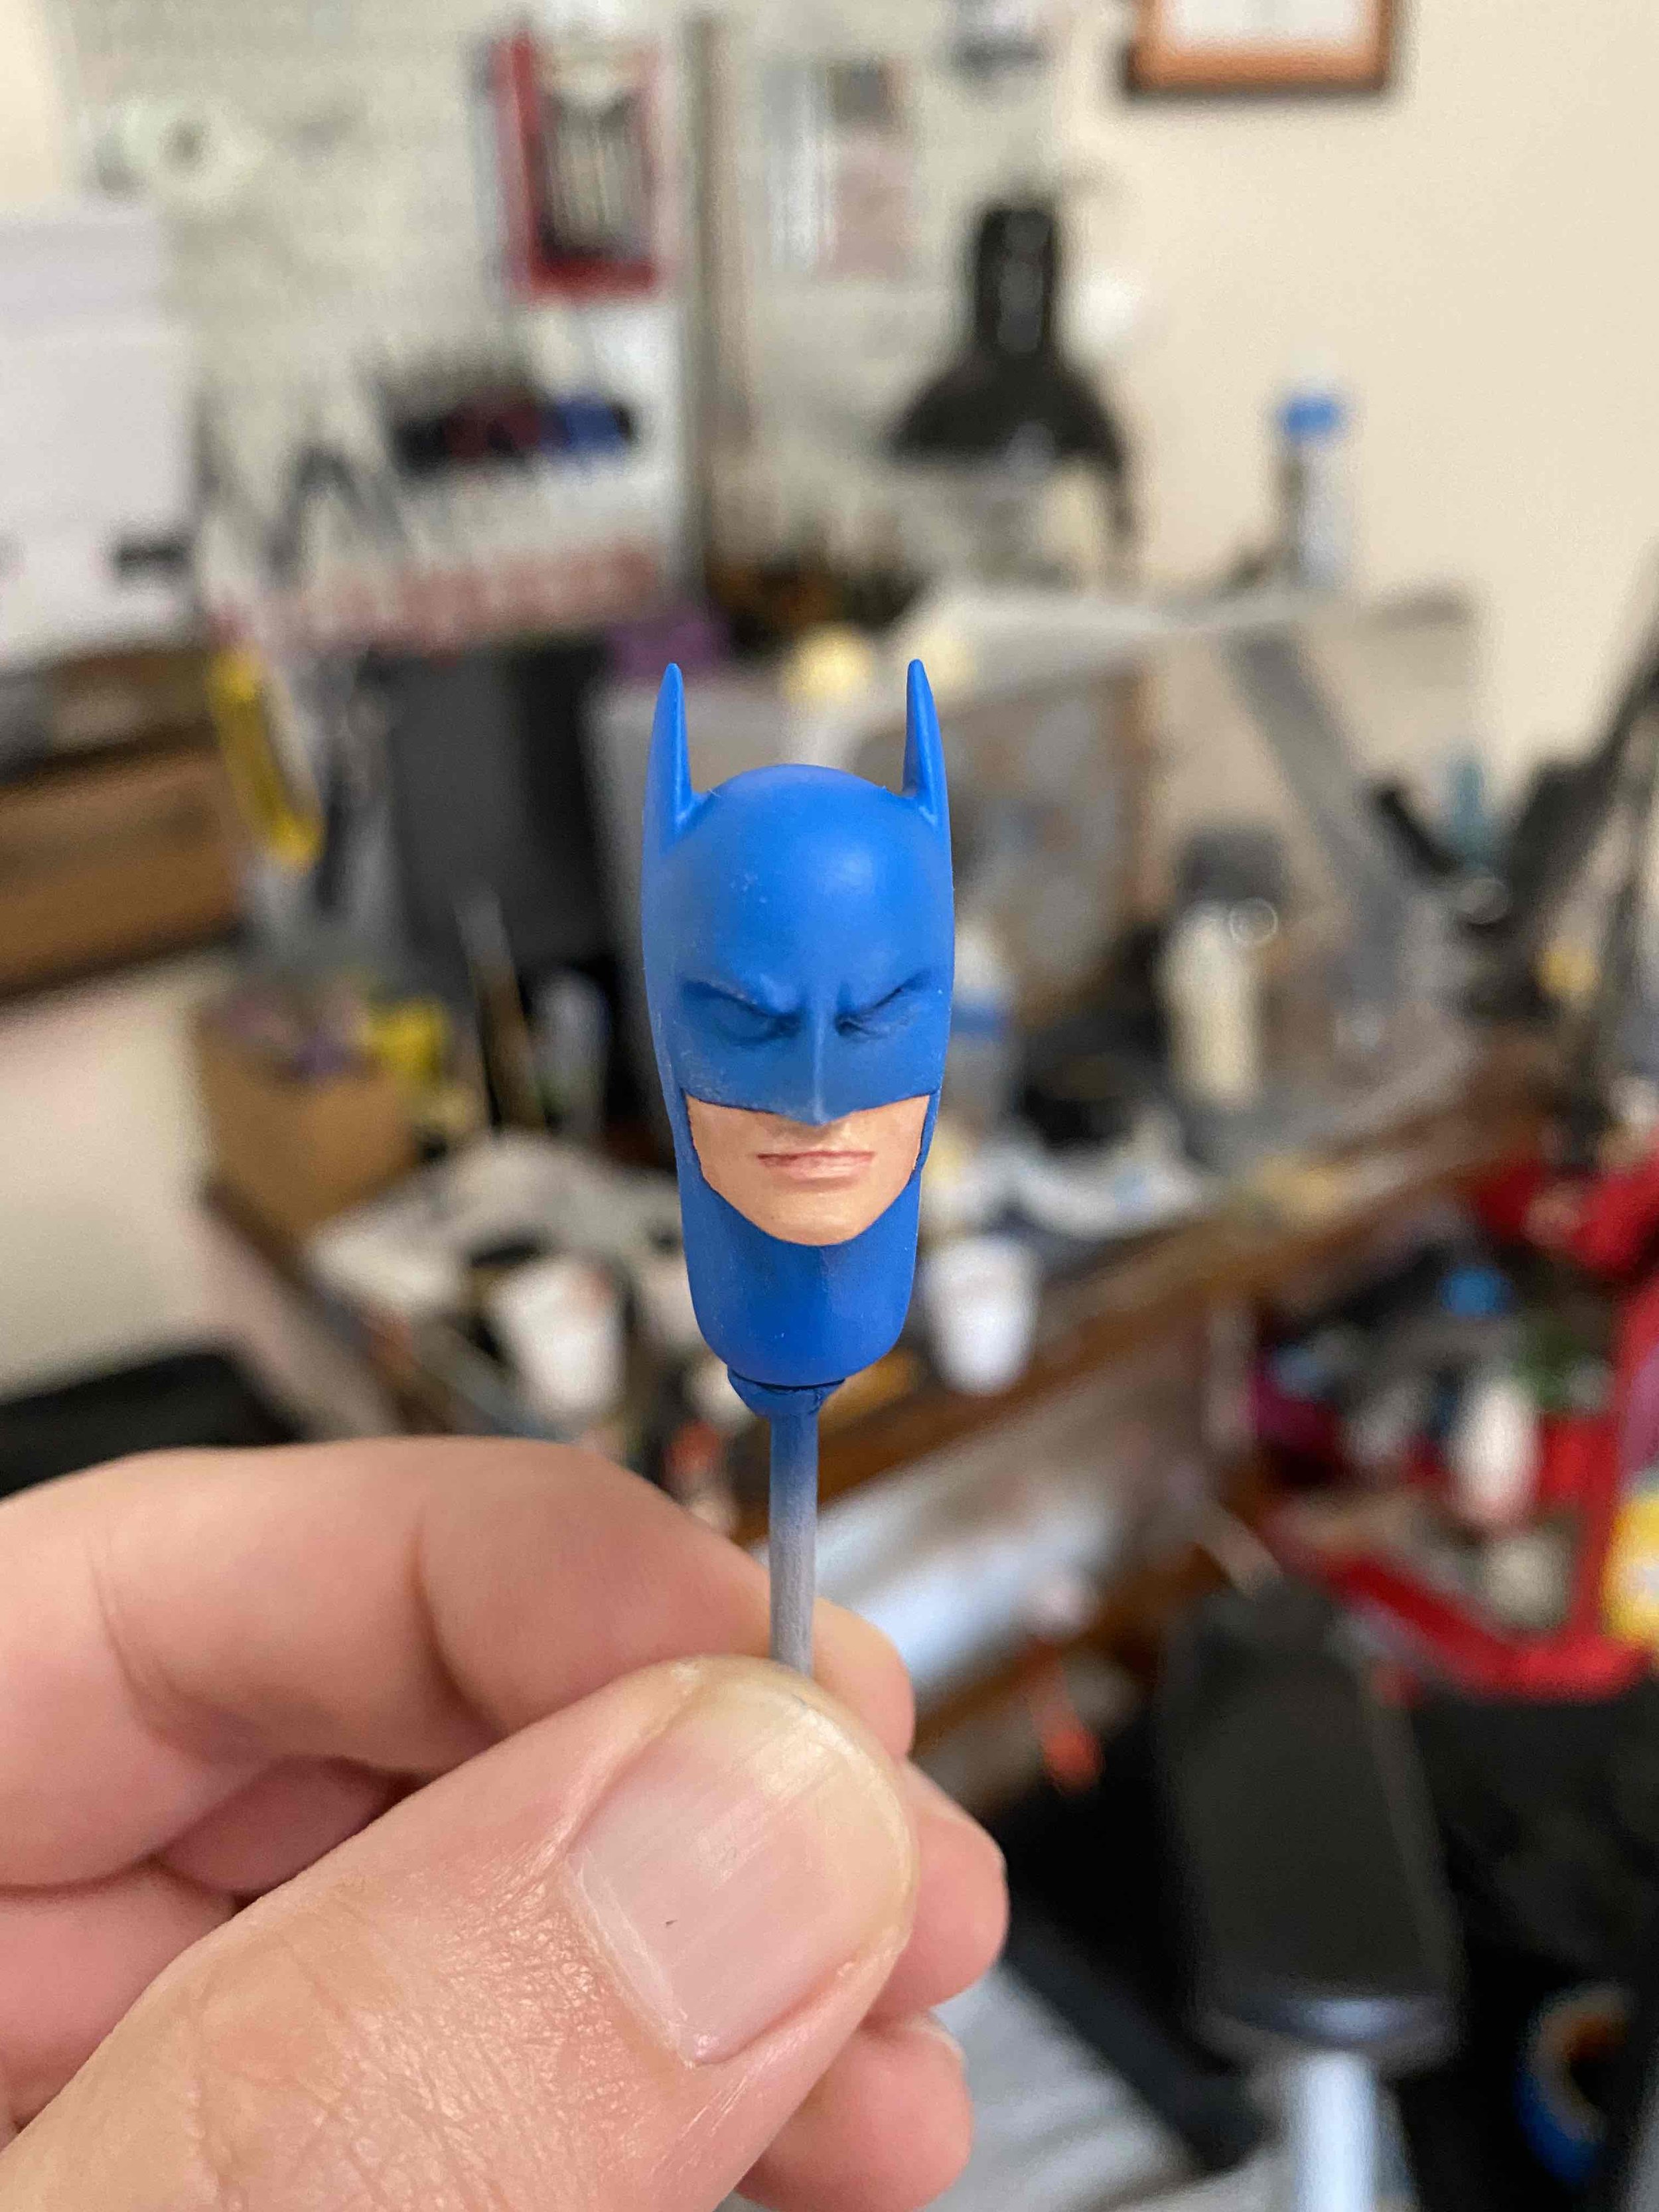
For the head, I knew I wanted to start with the 3D printed one I used for my 1939 Batman figure - I felt like it was a really good base sculpt to work with, and that a little refining would make it look like it came straight out of the 70s! I cut off the ears, carved away the eyebrows, and sculpted the details before resculpting the appropriate bat ears. I’m not going to lie, I think this was one of my better head sculpts.

Original 3d printed sculpt compared to the (hand) modified sculpt. Still in the early stages.
With the body and head done, I was able to move onto the outfit - I used the grey spandex from the batch that I’ve had laying for years and sourced the blue spandex from Goodwill. Here’s a quick tip: thrift store clothing is a great way to source unique fabric! I had to make a unique pattern for the body suit since I added mass to the original figure, but I feel like I’m getting pretty quick when it comes to drawing up patterns.
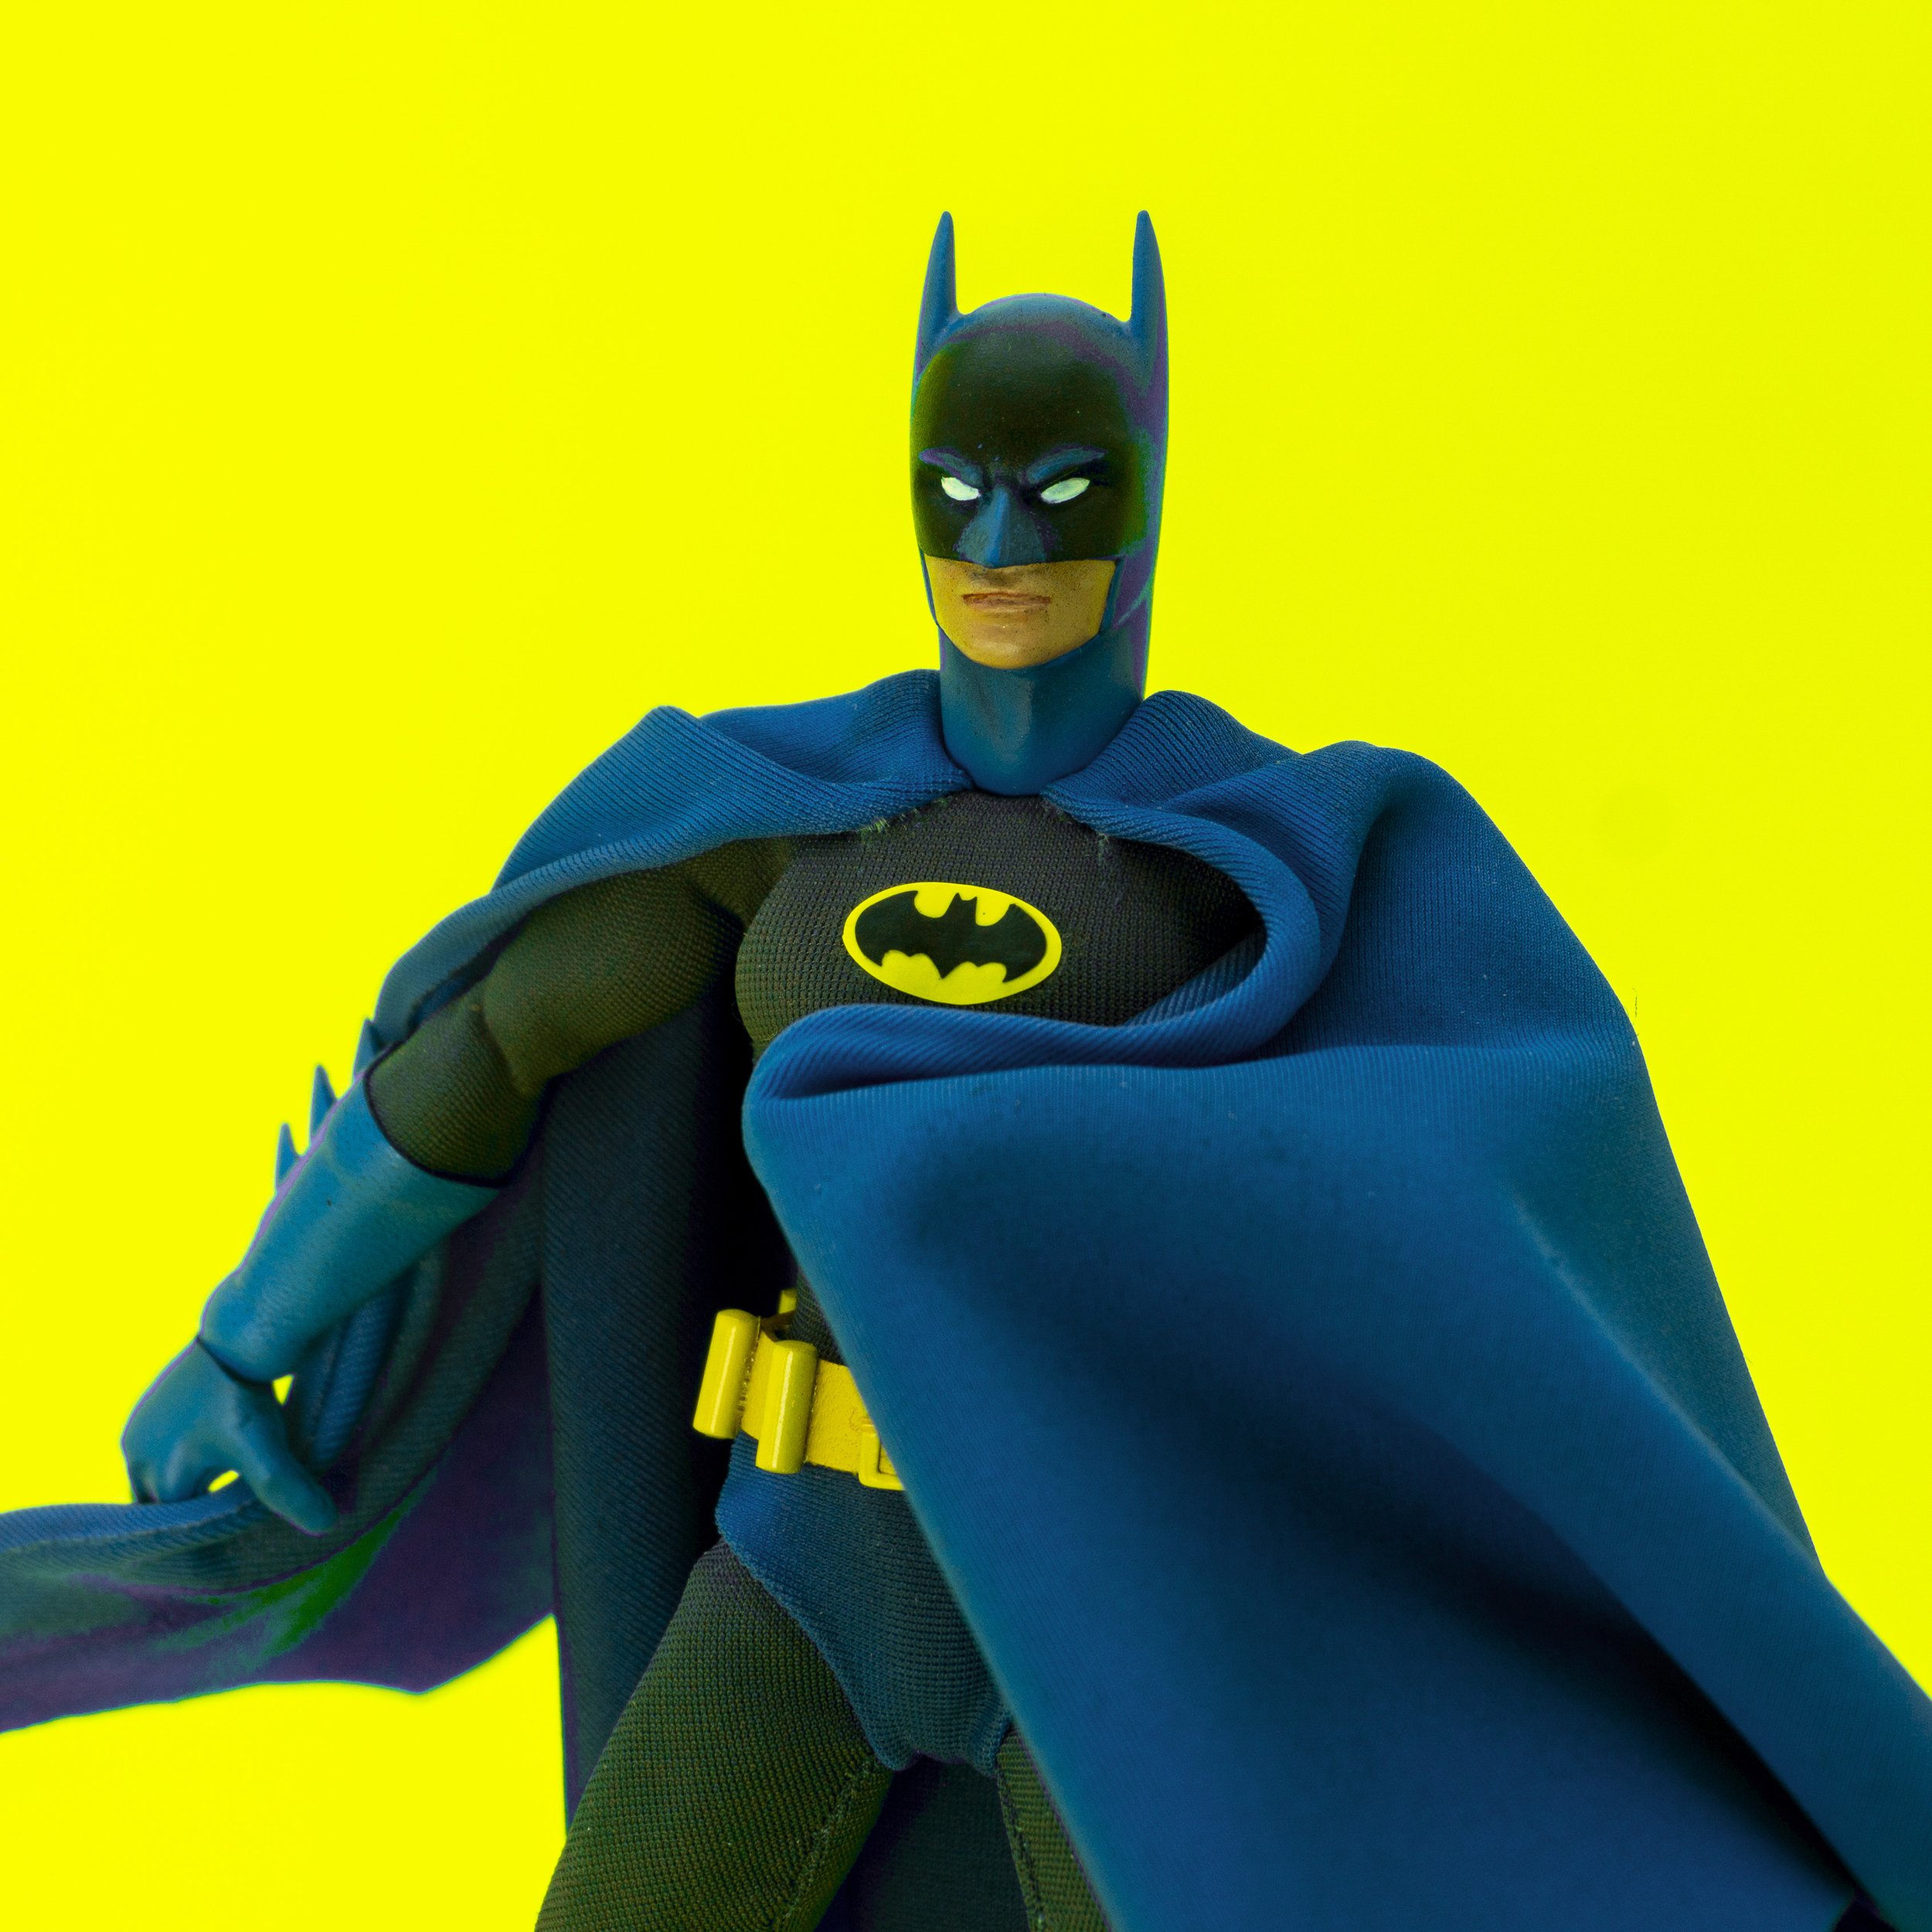
Since making the Phantom of the Paradise figure, I’ve completely come around to using wired capes on figures that have capes - I used to be pretty against the idea since mass-manufactured figures with this feature usually use some god awful thick plastic-coated rod that looks incredibly awkward! However, using a strong (but really thin) aluminum wire works incredibly well and doesn’t make the cape look any thicker in the process! Unlike the Phantom’s cape, I made this a single layer cape with the wires glued in at the edges and the excess fabric glued over them.
The real challenges with this figure came when I decided to do something a little different for the chest emblem - using a Cricut machine to cut heat transfer vinyl, and ironing the emblem on! With the previous Batman figures, I had carefully hand cut the emblems from black electrical tape (seriously!), washed the tape glue off, then used Barge Cement to glue it on (it holds better than the original adhesive on the tape). I figured that using Siser’s HTV for Spandex would work out a lot better AND I wouldn’t have to cut out the emblem by hand!
The first issue with the HTV emblem came from sourcing the vinyl - I didn’t need much of it, and I knew that even a small amount would last a long time. I ended up buying separate sheets from a reseller since I didn’t want to let so much go to waste. Then, for whatever reason, the yellows that I had to choose from were either a fluorescent, citrus-y yellow or an orange-y yellow - no basic, run-of-the-mill yellow. I chose the more fluorescent yellow since it looked a lot closer, but I still wish I could find a better yellow. Luckily, using the Cricut to do the cutting (you can rent and use them for $5 an hour at select Joann’s stores) was a breeze, so I have no complaints there (especially since I was able to purchase a Cricut cutter shortly after this experience). The REAL issue happened when I tried to use the Siser HTV - as in the one specifically designed to be used on Spandex and other stretchy, synthetic fabrics - the fabric WOULDN’T STICK! No matter how much I pressed the iron, no matter how long (or how little) I left the heat on, and no matter the technique I used, the emblem WOULDN’T STICK! I know some people have had success with this stuff, but it just didn’t want to work for me. I ended up just using Barge Cement on the back of the emblem, then trying to iron it on in hopes that the emblem adhesive will bond with the Barge to create a super strong hold. I doubt it’s any better than my previous method of doing emblems, but it seems to be holding at least!
After the nightmare with the emblem, I was able to paint the figure pretty easily. I feel like I’ve leveled up with painting skin tones, and I was able to color match the blue Spandex really easily. I also airbrushed some dark spots on the costume to create more of comic book look, which I think turned out really nice! Painting is normally my favorite part of making a figure, but this was a total blast!
Keep an eye out for the build video on this figure on my YouTube channel in the near future!